
Cambria Standalone Kiosk Configuration Guide
- The purpose of this guide is to provide a walkthrough of the process of configuring a Cambria Standalone kiosk for use with the Versatile Credit, Inc. cascade.
- This guide is intended for the personnel responsible for configuring the kiosk.
- If you require any assistance past what this guide provides, please contact Versatile Credit Customer Support
- Email: support@versatilecredit.com
- Phone: 866-803-3369
- Website: versatilecredit.com (Contact Us)
Before You Begin
Before starting the Kiosk configuration, please be sure that the following prerequisites have been met:
- The kiosk is connected to an adequate power source
- An active computer network that allows outgoing connections is available
You know the necessary network settings to configure the kiosk
Contact your Information Technology (IT) department or Network Support staff for information about your TCP/IP networking settings before starting this configuration procedure.
After Configuration
After the configuration procedure outlined in this document is completed, the kiosk will be ready for use.
Step-by-Step Guide
Step 1 - Get Started
Once the kiosk is connected to power and finishes its boot-up process, it should arrive at the beginning of the initial setup. Click on Get Started to begin the process.

Step 2 - Select Screen Orientation
Using one of the four available buttons, select the orientation of the display. When you're done, press the proceed to the next page.

Step 3 - Select Network Connection Type
Select between an Ethernet or Wireless (Wi-Fi) connection.
Contact your local IT department or Network Support staff if you’re unsure which option to select.

Step 4 - Wireless Network Configuration
The following screen will only appear if you select a wireless connection in the previous step.

- Select your wireless network name (SSID) from the list of available networks.
- Enter the WPA/WPA2 passphrase/pre-shared key when prompted.
Contact your local IT department or Network Support staff if you’re unsure which network to select.
Step 5 - Network Configuration
The next step in the configuration process is the Network Configuration. In most cases, the default settings should work. Consult your Information Technology (IT) department to ensure the correct settings are used here.

The following configuration parameters are available on this screen:
- Use DHCP – Check this box to enable automatic networking configuration by DHCP (Dynamic Host Configuration Protocol) or deselect to configure the kiosk's network parameters manually.
- Static IP Address – The IP address that the kiosk will be using.
- Netmask Address – The networking mask for the kiosk.
- Gateway – The IP address of the router or gateway used to route traffic to other networks.
- DNS Server – The IP address of the primary DNS (Domain Name System) server.
NOTE: The fields above marked with an asterisk (*) are only available for configuration when “Use DHCP” box is unchecked.
When all the networking parameters have been entered, touch the CONTINUE button to save the networking parameters and start the Basic Network Test. The kiosk will attempt to verify network connectivity. If the tests are successful, proceed to enter the System Password.
Step 6 - Enter a System Password
The next step is to create a password for the kiosk's configuration interface.

- The System Password must be eight characters long.
- Create a password that is hard for others to guess but easy for you to remember.
Please write down the password and keep it in a safe place.
Step 7 - Enter your Registration Key
On this screen, you will enter your 16-digit registration key, found on the cover of this guide. This key is used to validate and automatically configure the kiosk. If you cannot locate your key or are having issues entering it, please contact Versatile Credit Customer Support using the contact information provided at the start of this guide. Touch the "CONTINUE" button to proceed to the address confirmation screen.

Step 8 - Confirm the Kiosk Address
This next step fetches the store's address in Versatile Credit, Inc.'s database for the Registration Key you entered in the previous step. Please confirm that the address matches the address of the location where the kiosk will be placed.
- If the address is incorrect, please contact Versatile Credit Customer Support to correct it.
- Touch the "CONTINUE" button to download the latest configuration settings and check for updates.

Step 9 - Download Configuration and Updates
This step connects to our server and downloads the latest configuration settings and updates.
- The process may take several minutes to complete.
- If updates are installed, the kiosk will reboot automatically.
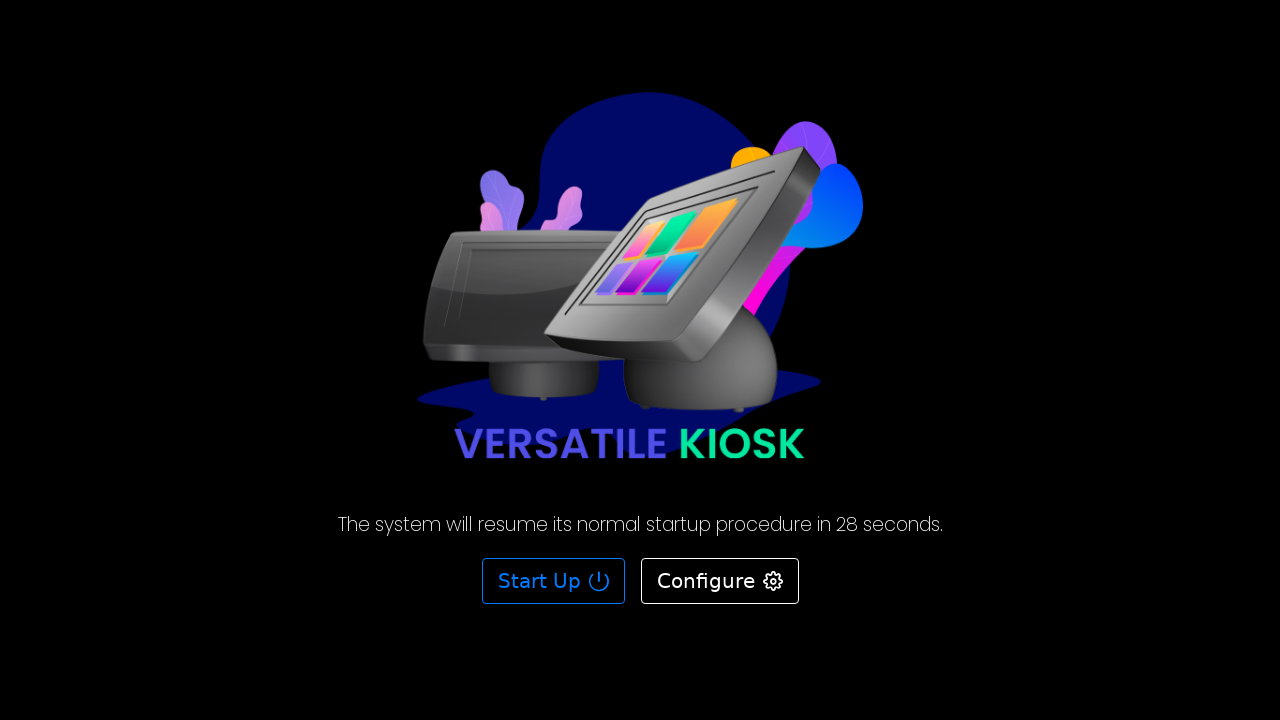
Once the kiosk reboots, wait 30 seconds or click "Start Up" to finalize the configuration process.

See Appendix B to submit a Training Transaction for training demonstrations or to test the kiosk and printer to ensure it is fully operational.
Appendix A - Kiosk Factory Restore
During the booting-up process, the Start-Up screen will display an option to Configure the kiosk.
- Touch the Configure button within 30 seconds to start the configuration procedure.
NOTE: Failure to touch the button will result in the continuation of the start-up procedure.
- After you press the Configure button, you will be prompted to enter the System Password. Enter the SystemPassword that was set up during the Kiosk Configuration procedure.
- After entering the password, click the LOGIN button. The Configuration Main Menu screen will be displayed.
- The following items are available in Configuration Mode:
- Perform a Factory Restore
Appendix B - Credit Application Training Transaction
Training Transactions can be submitted through the kiosk to simulate the sending of transactions to the financial institution (without actually sending the transactions). A Training Transaction is helpful for training, demonstrations, or testing the kiosk printer to ensure it works.
- The credit decisions are based on the values entered into the kiosk.
- The following table shows the values that will produce a specific credit decision in training mode.
- Entering the values below for the Primary Credit Applicant puts the kiosk into training mode for that individual transaction.
| First Name | Last Name | Social Security Number/ Social Insurance Number | Decision |
|---|---|---|---|
| TRAINING | TRAINING | 111-11-1111 | Approval from Primary Lender |
| TRAINING | TRAINING | 222-22-2222 | Approval from Secondary Lender |
| TRAINING | TRAINING | 333-33-3333 | Approval from Tertiary Lender |